


Introduction
Ghidra is a powerful software reverse engineering tool, initially developed by the National Security Agency (NSA) and subsequently released as open source. It provides a suite of capabilities for analyzing compiled code, Ghidra proves indispensable for security researchers, software developers, and professionals exploring the inner workings of binary executables. Particularly valuable in the realm of IoT security, Ghidra empowers experts to navigate the complexities of embedded systems, ensuring a robust approach to securing connected devices
Key Features:
- Ghidra offers a robust disassembly engine, an integrated decompiler, support for various architectures (e.g., x86, ARM, MIPS), and collaborative capabilities that facilitate team collaboration on reverse engineering projects, Ghidra stands as a versatile and powerful tool.
- Users can modify and patch binaries directly within Ghidra, allowing for experimentation and testing of changes. This can be useful for vulnerability analysis and understanding the impact of code modifications.
- Ghidra has a built-in script manager that allows users to create, edit, and run scripts for automating repetitive tasks or customizing analyses. Scripts can be written in languages like Python.
User Interface Overview
In this section, we will exclusively explore the Ghidra Code Browser, Debugger, and Emulator. This focused exploration aims to provide users with a direct understanding of these core tools within the Ghidra environment for both static and dynamic analysis.
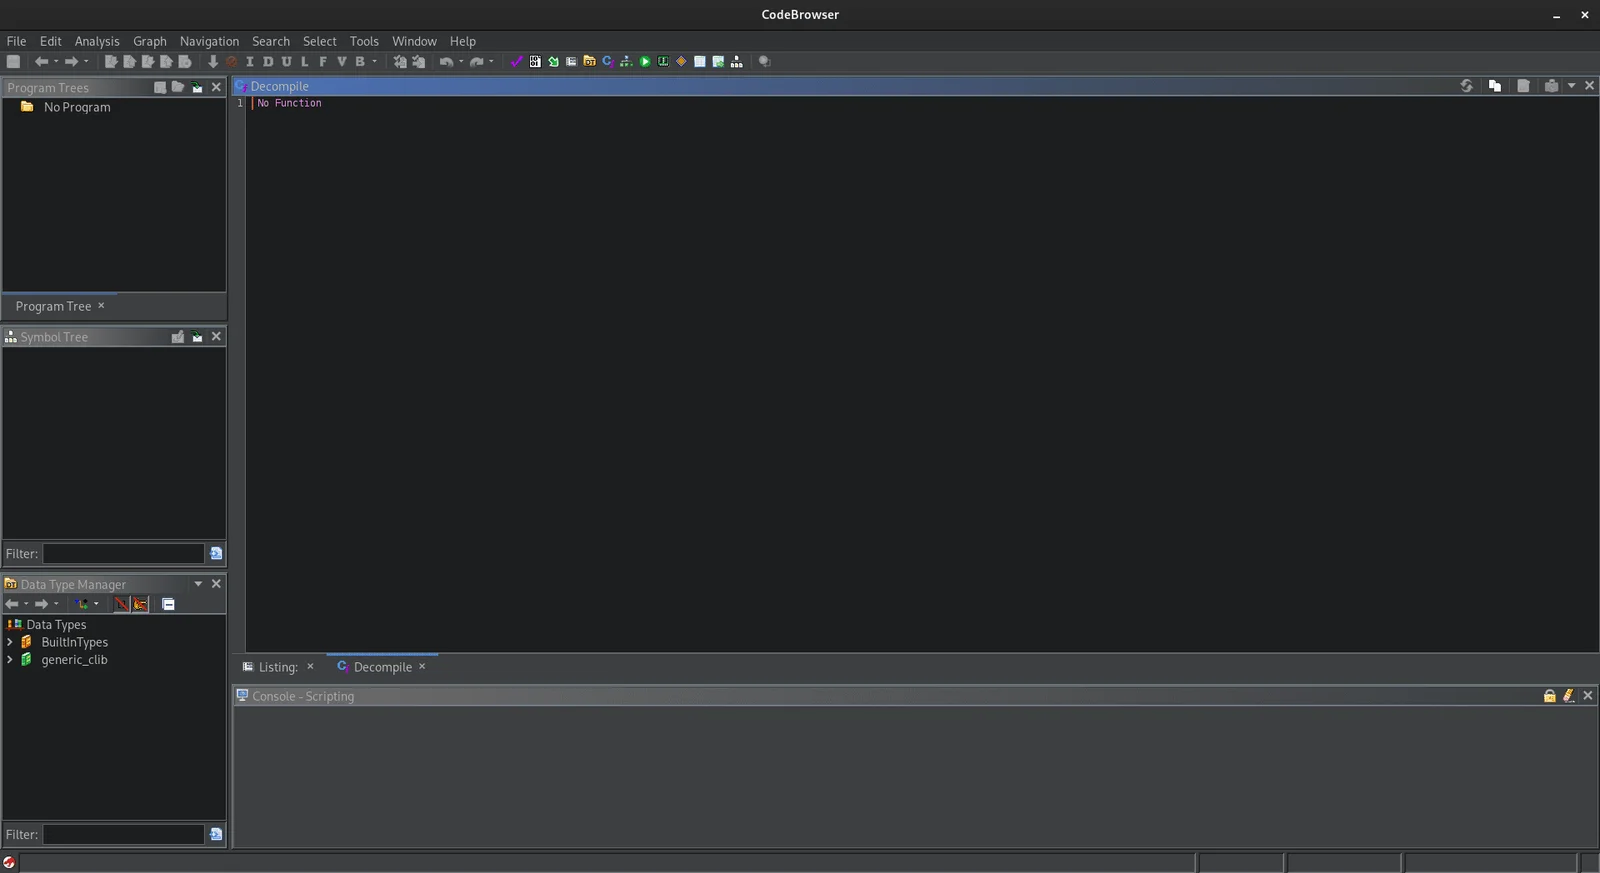
Code Browser:
The Ghidra Code Browser is the core interface for examining and analyzing binary code. It presents a comprehensive view of disassembled or decompiled code in the central listing panel, allowing users to navigate through functions and understand the logic of the program. The Code Browser includes features such as the Function Graph, aiding in visualizing control flow. With integrated tools like the Data Type Manager and Symbol Tree, users can efficiently manage data types and navigate symbols. The search bar and navigation options enhance the ability to locate specific addresses or functions quickly. This interactive and user-friendly interface serves as the primary workspace for conducting detailed code analysis within the Ghidra framework.
Debugger:
The Ghidra Debugger is a powerful tool for dynamic analysis, allowing users to investigate the runtime behavior of binary code. Integrated seamlessly into the Ghidra interface, the debugger enables users to set breakpoints, inspect and modify memory, and step through code execution. It supports various debugging features, including register and memory views, call stack analysis, and breakpoint management. The debugger is compatible with external debuggers like GDB, providing flexibility for both static and dynamic analysis within the Ghidra environment. This feature-rich tool enhances the reverse engineering process by enabling users to understand and interact with the binary’s execution flow in real-time.

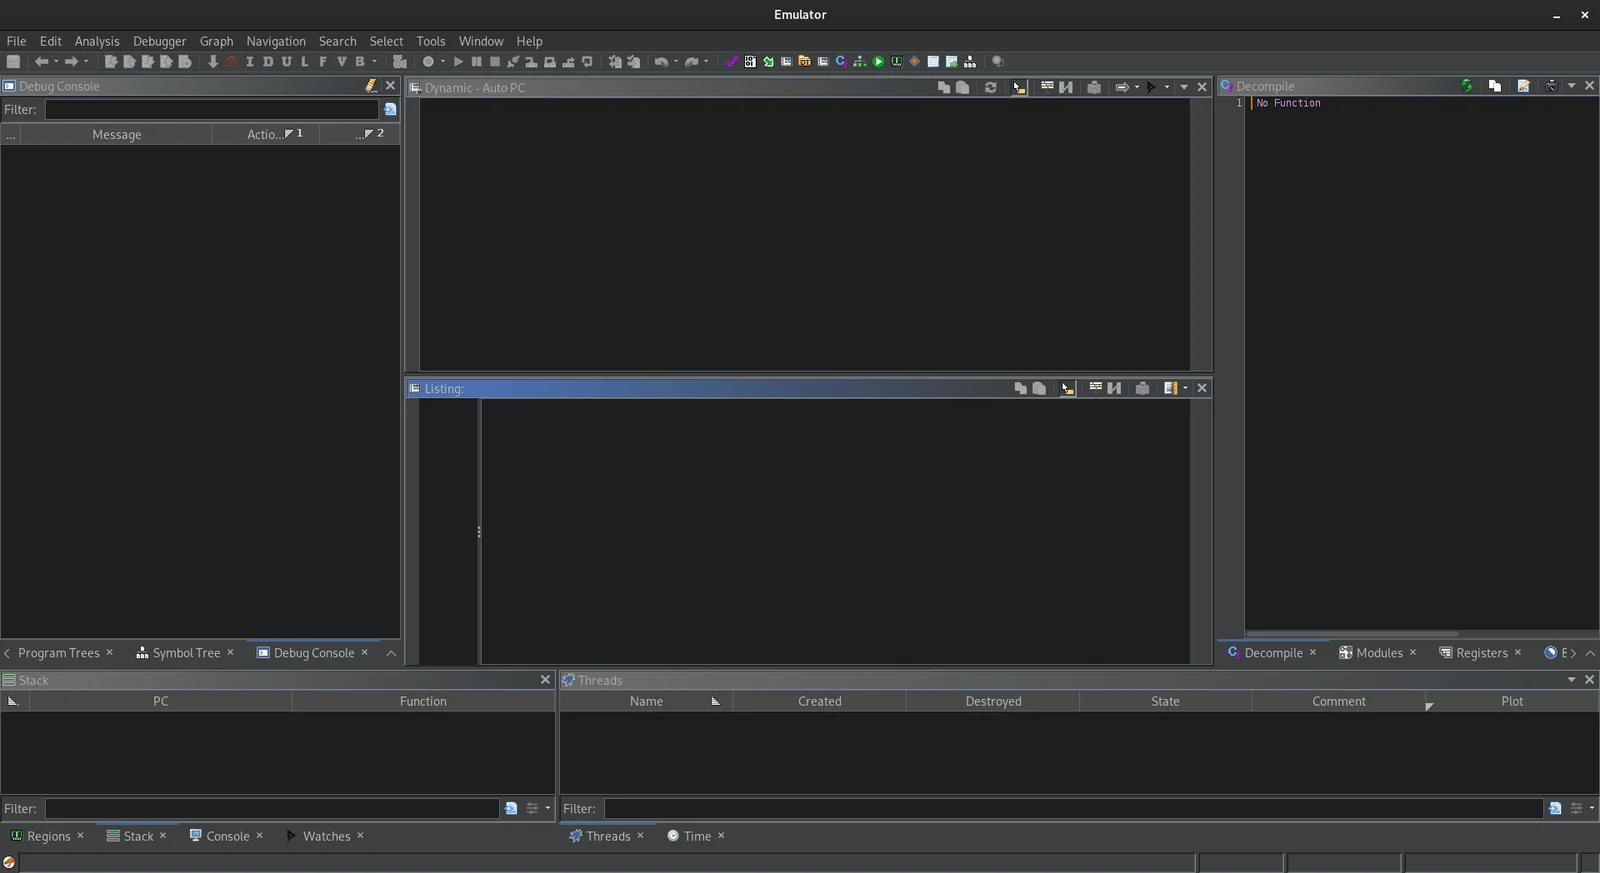
Emulator:
The Ghidra Emulator is a crucial component for dynamic analysis, providing a simulated execution environment within the Ghidra framework. It allows users to emulate and execute binary code, facilitating the understanding of program behavior without running it on the actual target hardware. Integrated into the Ghidra Code Browser, the emulator provides valuable insights into the runtime execution flow, allowing users to trace code paths, identify potential vulnerabilities, and analyze the impact of specific instructions. With features such as register and memory views, users can closely examine the state of the emulated program during execution. The Ghidra Emulator is a versatile tool that complements static analysis, offering a comprehensive approach to reverse engineering by combining both static and dynamic perspectives.
Ghidra Demo: Cracking the CrackMe
In this section, we’ll engage in a hands-on demonstration using Ghidra. We’ll dive into the fascinating world of reverse engineering using a CrackMe challenge. A CrackMe is a specially crafted program designed to test and improve your skills in cracking software protection. We’ll leverage the powerful capabilities of Ghidra to dissect and understand the inner workings of this CrackMe file. Step-by-step, we’ll explore Ghidra’s Code Browser revealing how this open-source tool unveils the secrets hidden within executable binaries. Get ready to crack the code and witness Ghidra in action, providing insights into the art of reverse engineering.
- First download the CrackMe challenge from here.
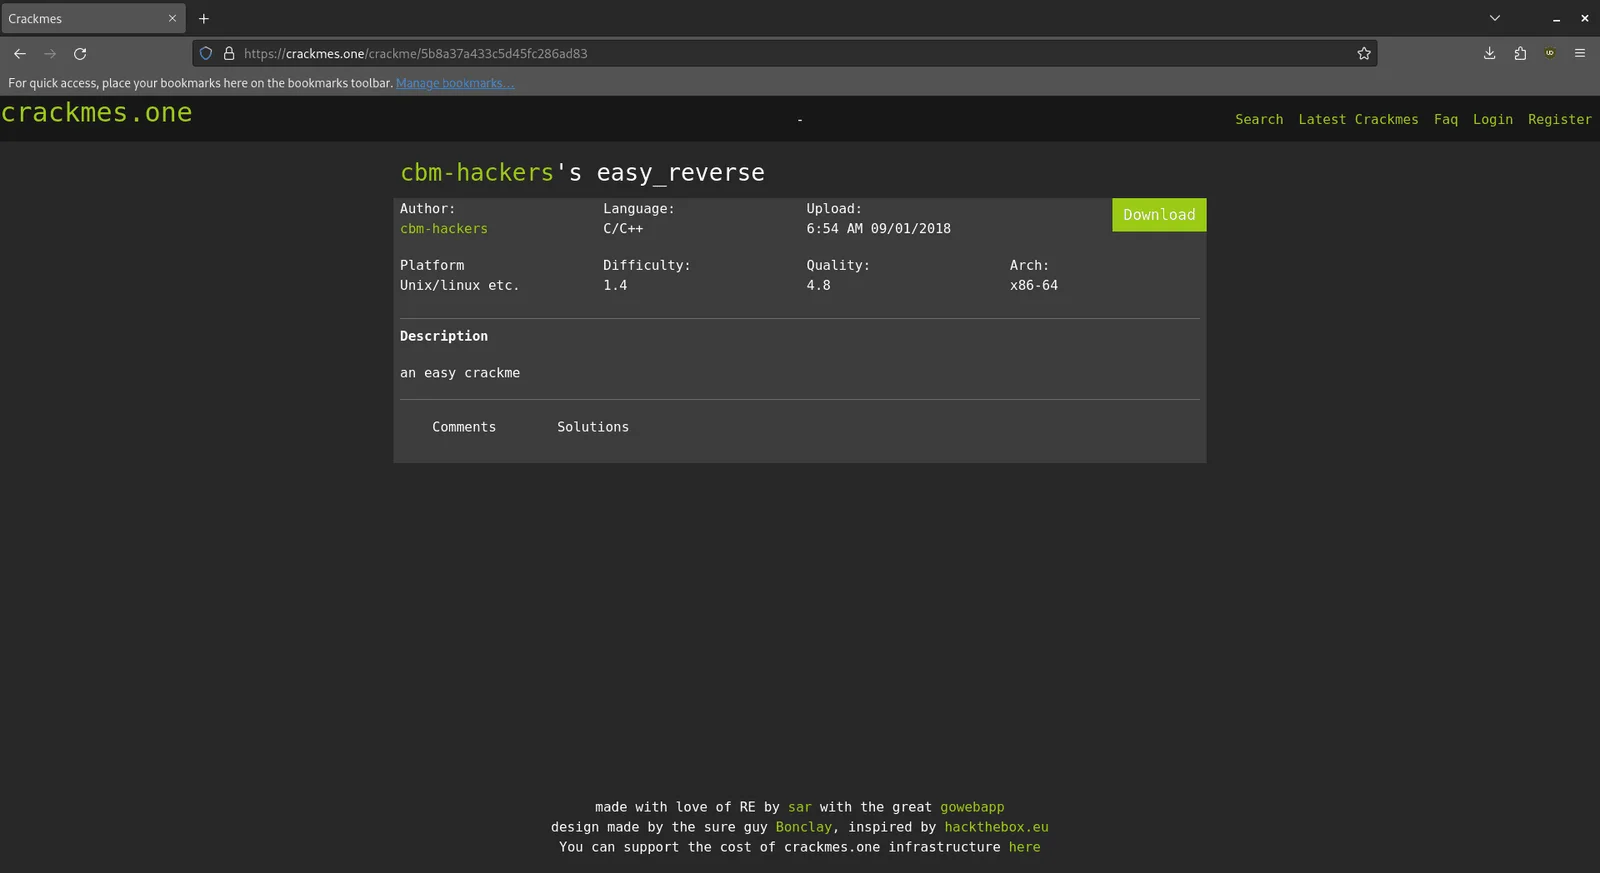
After the file downloaded unzip it using the password “crackme.one”. Unzip the rev50.zip in that folder to you will get the challenge rev50_linux64-bit executable file.
- lets try to execute the binary to see whats it’s executing.
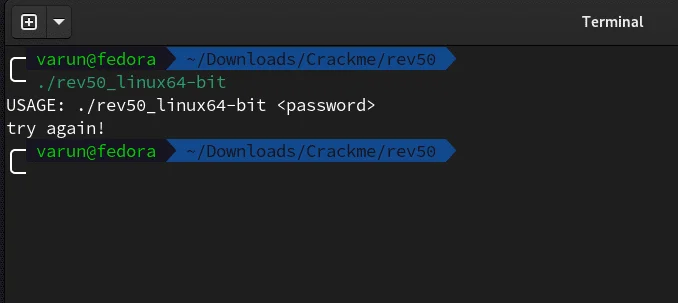
- So as we can see we need to provide a password to get the flag. You can try doing it manually or just follow the blog to get the password.
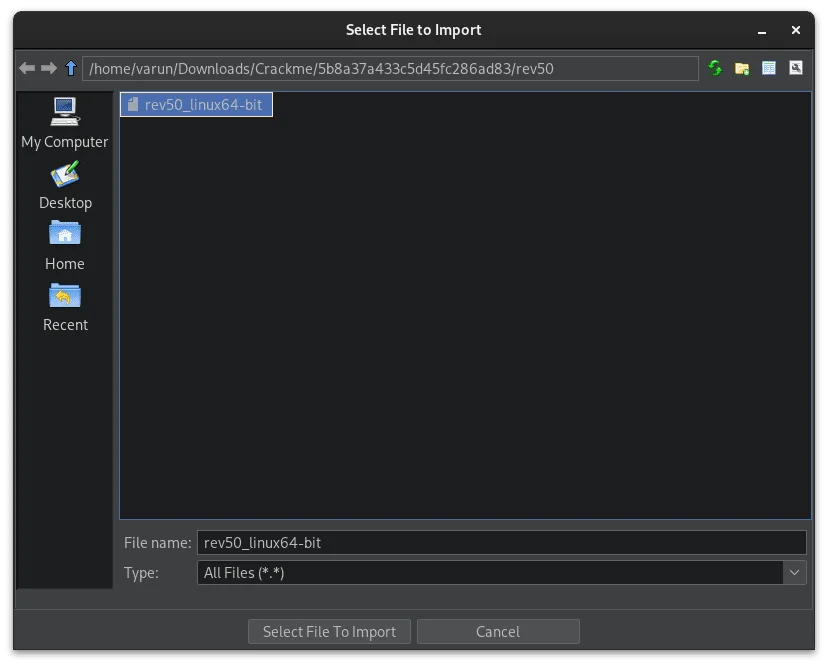
- Now lets try to reverse engineer it with Ghidra. First open Ghidra, create a new project. Import the challenge file in the project.
- Now double click on imported file to open it into code browser. You will see a pop of selecting format, language and project name set it default and click “ok” to continue.
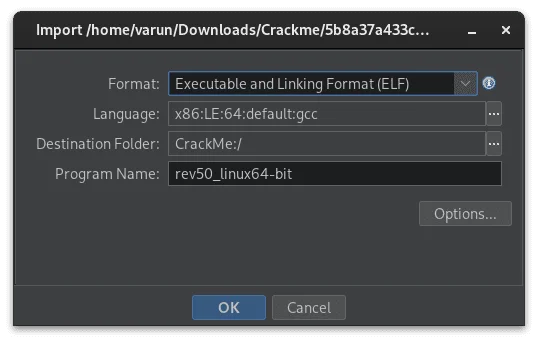
- Now you see the summary of project import click on “ok” to continue as follows.

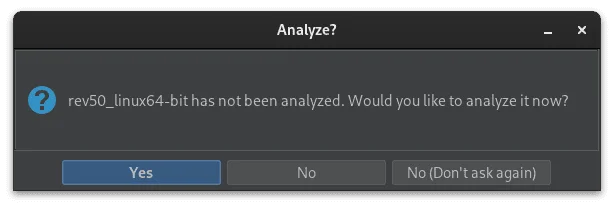
- Now double click on the imported file to open it in code browser. You will be asked for analyze the file or not, click on “yes” to continue.
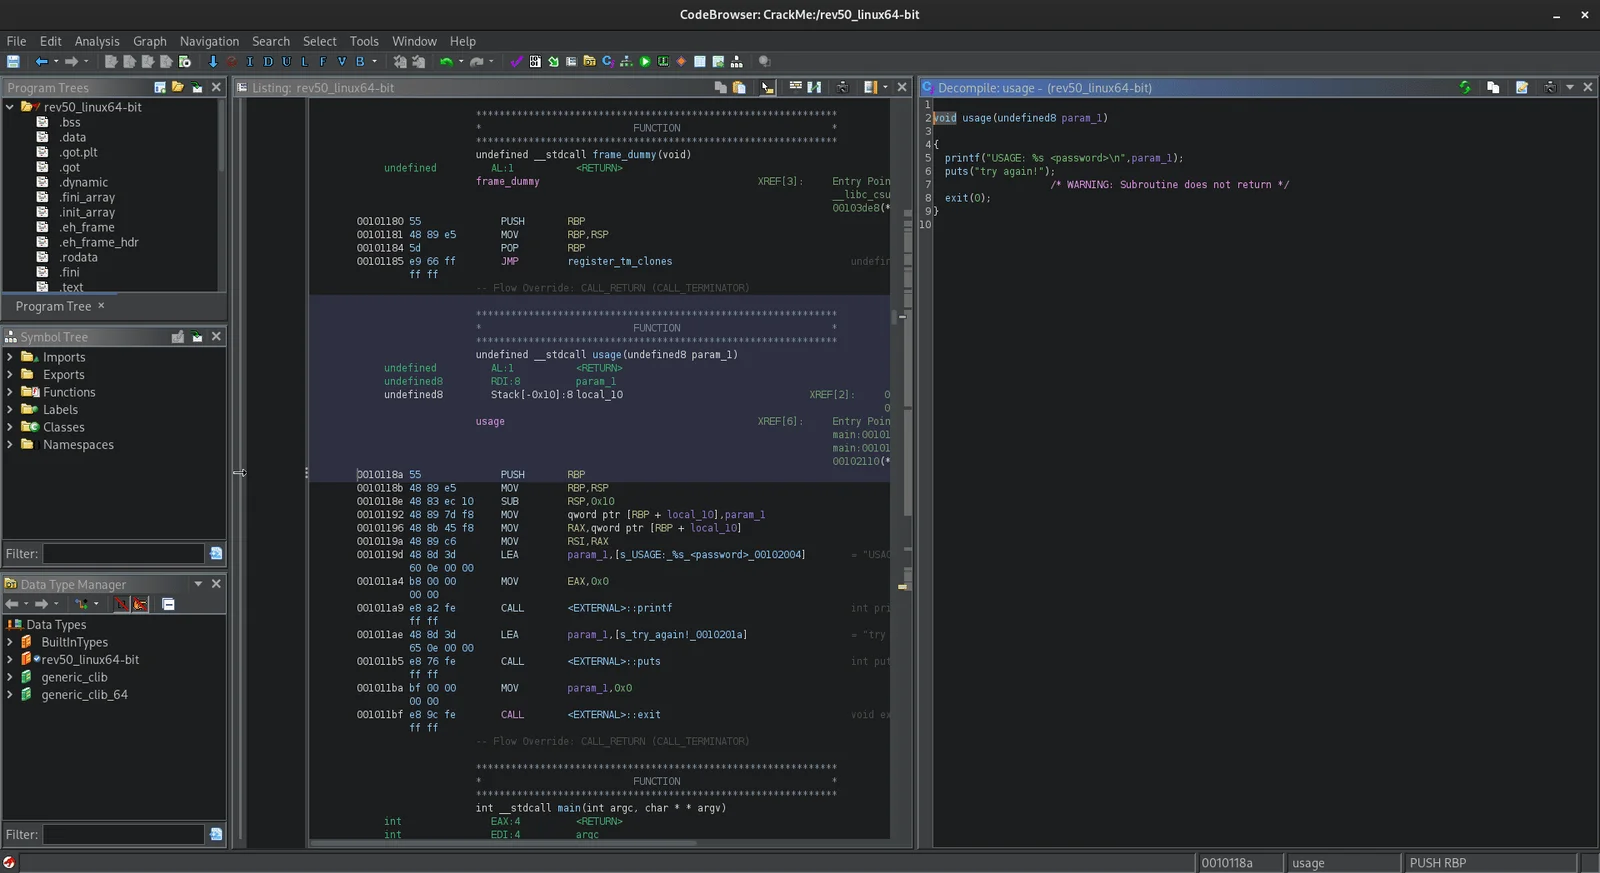
- After the analysis complete you will see the window as follows
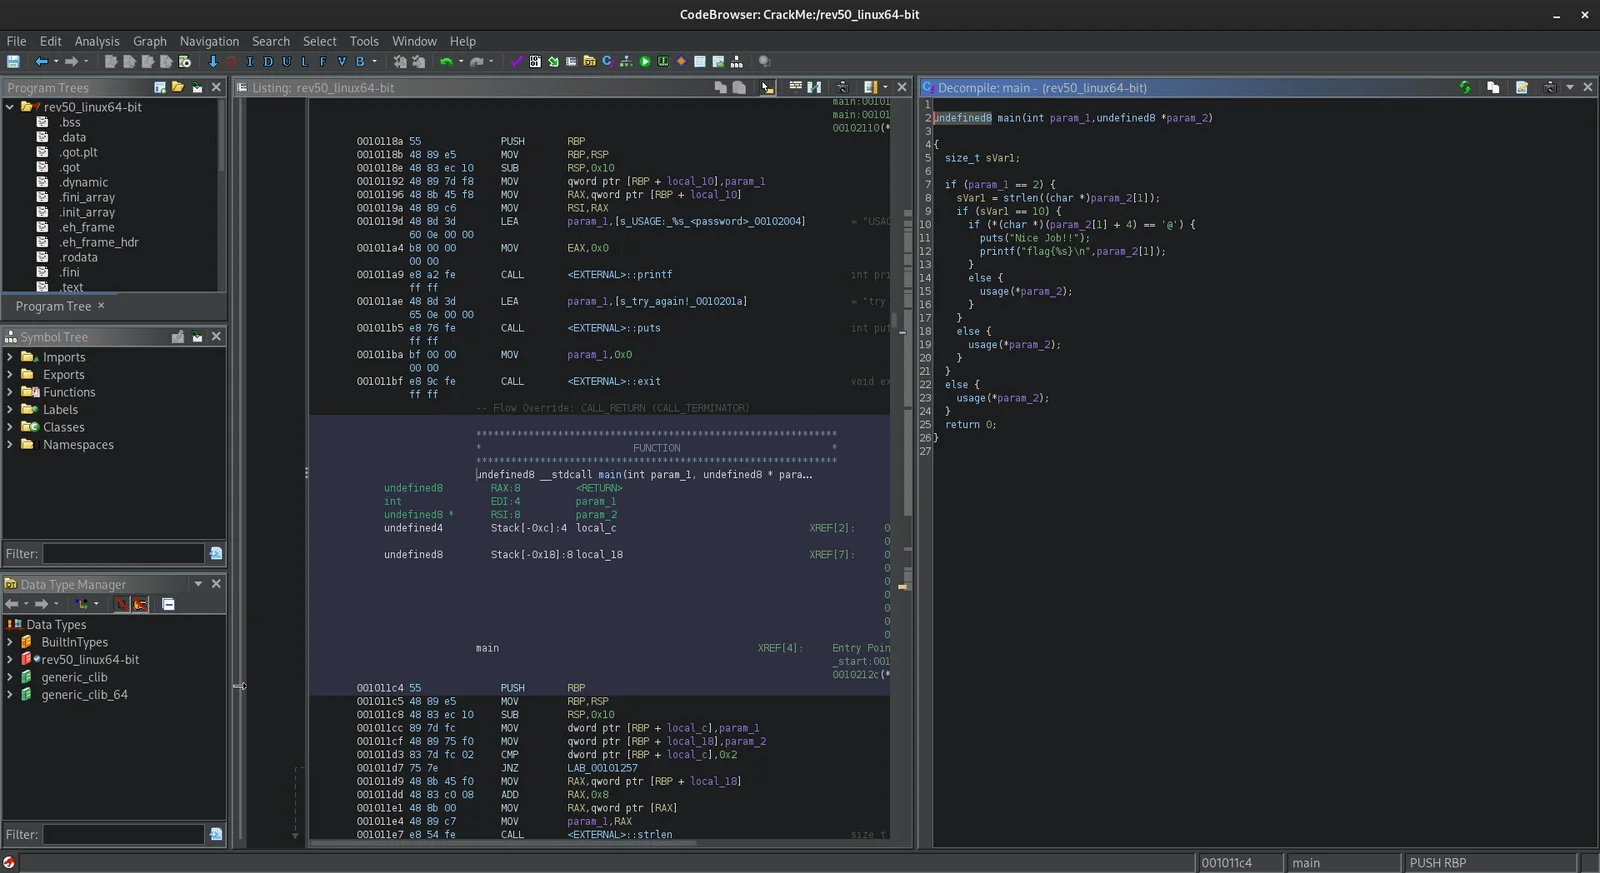
- Now from here we actually start analyzing the executable. First we will analyze only the decompiled code of ghidra.
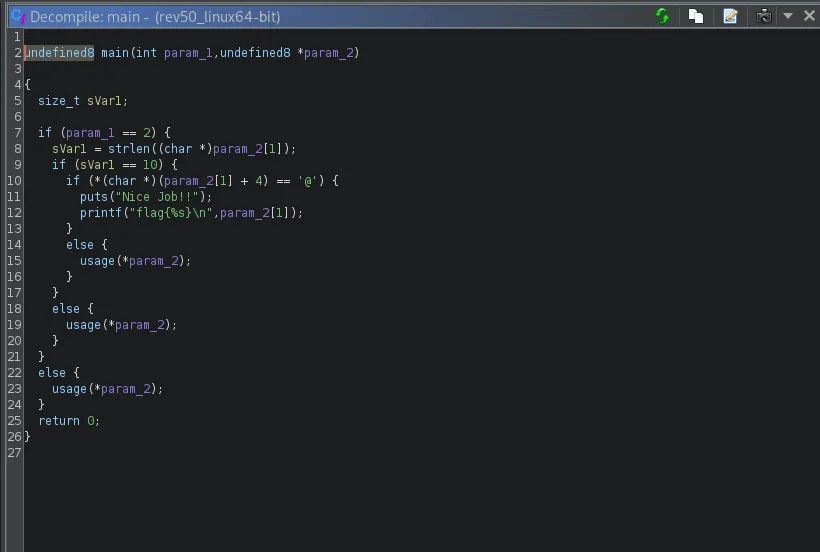
- Lets try to understand the code line by line. The first line of code look similar to default main function of c.
undefined8 main(int param_1,undefined8 *param_2)
- It looks very similar to the C main function standard syntax. lets compare it.
undefined8 main(int param_1,undefined8 *param_2)
int main(int argc, char *argv) // C main function standard syntax
- As we can see both look very similar to each to other so lets replace it in code browser. The code will look as follows
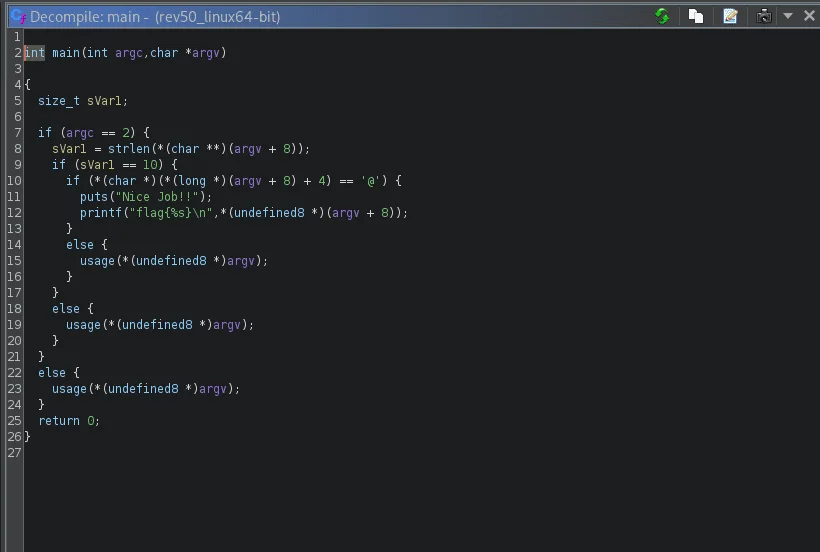
- But here is one problem “
* argv” is not treated as array instead it is treated as a part of function so we need to modify it as follows in order to work
int main (int argc, char ** argv)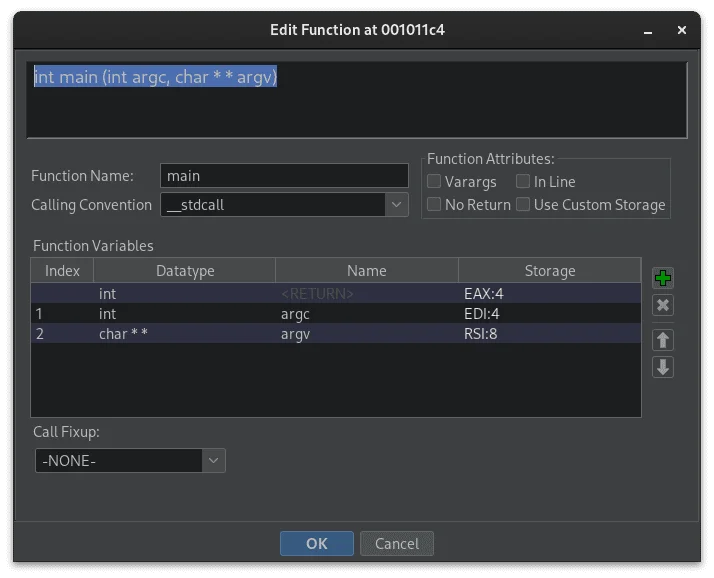
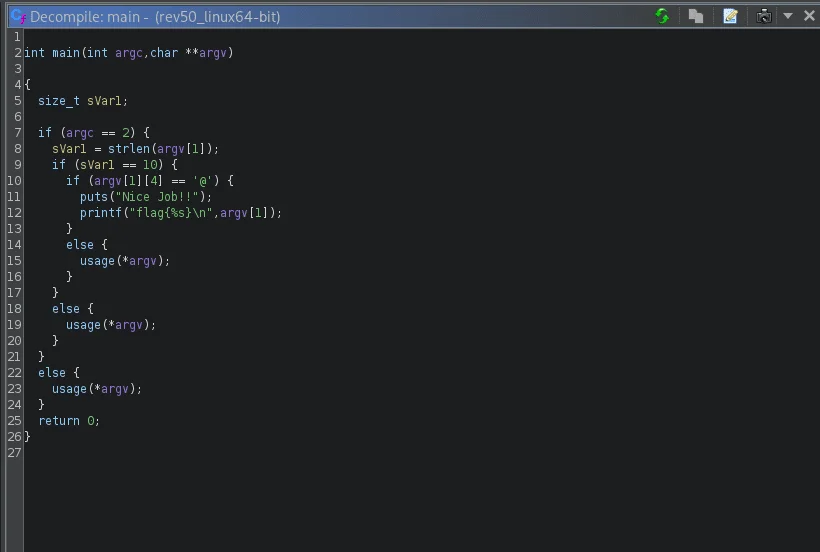
- As we can see in picture the code looks more simpler now. Now lets continue debugging line by line.
size_t sVar1;
- It’s look like it is declaring a variable of type
size_tand namesVar1. Now lets check next line
if (argc == 2)- This line checks if the program is given exactly one command-line argument.
sVar1 = strlen(argv[1]);- This line calculate the length of the provided argument and store it in to
sVar1variable
    if (sVar1 == 10) {
      if (argv[1][4] == '@') {
        puts("Nice Job!!");
        printf("flag{%s}\n",argv[1]);
      }
      else {
        usage(*argv);
}- This block of if is checking if the length of the sVar1 is 10 or not. If yes then then it’s checking the argv [1] [4] is ‘@’ or not. The argv [1] [4] means the 5th letter in the string. So if the 5th letter in the string is ‘@’ then continue.
argv[1][4]
argv[start][end]
// The starting index is 0 by default but here it's given to 1 so from the 1 to 4 it gives us the 5th letter in string.- Then after this there are some print state which prints “Nice Job!!” and flag as the value of
argv[1].
- After this there only the “else” blocks left which are just completing the “if” blocks. And after double clicking on the
usage(*argv)you will get following code which is executed in “else” block.
- So we got the flag. If we pass an argument to executable with ‘@’ present at 5th letter then it will print the flag.
- Now lets try to execute the binary again with argument
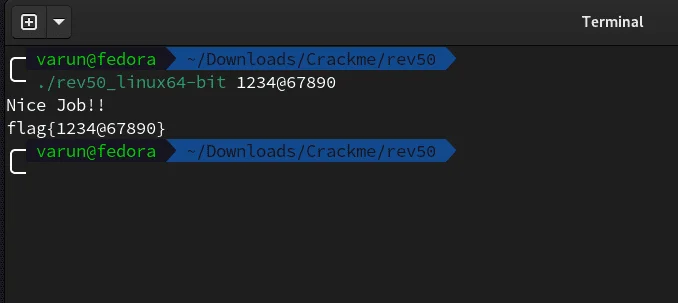
Congratulations! You’ve successfully reverse-engineered the CrackMe challenge.
Conclusion
In summary, our exploration into Ghidra’s fundamentals and practical application on a real-world CrackMe challenge has provided valuable insights into the realm of reverse engineering. Whether you’re just starting or aiming for expertise, this guide equips you with essential skills, guiding the way for a confident journey into the world of code analysis. Stay tuned for more exciting revelations as you continue your reverse engineering adventure!
